Wednesday, May 29, 2013

Introducing Baby Iris!


It's a little overdue, but I'm happy to report that our sweetest little, Iris Arabella, has arrived! 

In fact, she's 15 days old now! We are absolutely thrilled with our new baby sister, and we feel so blessed to finally have her here and healthy. God is good! 

And now...we tackle life...on a major budget...with four kids seven under! Are we having fun yet???

Saturday, May 25, 2013

Mint Chocolate Chip Cupcakes


A few weeks ago, I ran across this recipe for Mint Chocolate Chip Cupcakes on Pinterest, and I thought it would be perfect for my husband's birthday. I'm normally not a fan of making cupcakes. I think they're a little bit of a pain, but these looked worth it! Oh my gosh, were TOTALLY worth it! My husband's family expects me to go all out dessert-wise when we get together, and everyone loved these! They really were very easy too, especially since I "cheated" and used a boxed cake mix. (Seriously though, is that really cheating??? Why wouldn't you use a boxed cake mix??? Who can really tell the difference???)

Here is the recipe,

Dark Chocolate Cupcakes -

1 box of Dark Chocolate Cake Mix

Mint Chocolate Chip Frosting -


  • 1 cup (2 sticks) unsalted butter, softened to room temperature
  • 3-4 cups powdered sugar
  • 2 Tablespoons half and half
  • 1/4 teaspoon pure mint extract
  • 2 drops green food coloring
  • a pinch of salt (Don't omit this! It really made a difference in the flavor!)
  • 2/3 cup mini chocolate chips
  •  

    Instructions -

    1. Prepare and bake the cake mix as instructed for cupcakes. Cool completely.

    2. Beat softened butter with a hand mixer. Slowly add the powdered sugar and mix in the half and half, mint extract, green food coloring and salt. Beat for 2 or 3 minutes. If the frosting is too thin add more sugar. If the frosting is too thick add, a little more half and half. You can also add more mint extract and/or green coloring to adjust the flavor and color if necessary.

    We really enjoyed this recipe, and I would definitely make it again. I think it would be a fun addition to a bake sale or a kid's party of any kind. It's not that much harder than using a prepared frosting, but it is so much more impressive!

    Saturday, May 11, 2013

    Martha Stewart Aegean Blue


    It's been a long time since I shared a picture of our new house and paint colors! We've been on a REALLY LONG painting hiatus due to my pregnancy, but we're back at it! I'm still a crazy Google Image-r as I've been considering paint colors, so I'm just returning the favor. The blue is Martha Stewart's Aegean Blue from Home Depot in the afternoon natural light of the room. Don't ask me what the paneling is. (Well, it's ugly!) We thought it was white until we painted the blue and realized it's very off white. We have the same color on paneling and molding through our whole first floor, so it will have to do for now!

    We also painted our office and son's bedroom in Aegean Blue. Next, we'll be moving on to our kitchen, family room, entryway, hallway and two little girl's rooms. Stay tuned! You can see Sherwin Williams Baize Green in one of our upstairs bathrooms here.

    Saturday, May 4, 2013

    Updating My Mom's Sloppy Joe Recipe...

    My mom is a really good cook. Like really good. I made her Sloppy Joe recipe for the first time a few months ago, and my peeps really liked it. My middle daughter is the pickiest, and she liked it the most. A winning recipe for sure!

    I realized it would be super easy to sneak some veggies in to it, so the last time I made it I did just that. Here is my updated receipt from my mom's original.

    Ingredients -

    1 cup chopped onion
    4 lbs hamburger

    Brown and drain. Then add,

    14 oz of ketchup
    1 cup water
    1/2 cup finely diced celery
    1/2 cup shredded carrots
    1/2 cup finely diced green pepper
    2T brown sugar
    1T worsteshire sauce
    2 tsp vinegar
    Juice of 1 lemon
    1/2 tsp dry mustard
    salt and pepper to taste

    Simmer for about 30 minutes until the sauce is thick! Serve and enjoy!

    Saturday, March 30, 2013

    He is Risen!

    Happy Easter!


    From My "Peeps" to Yours!!!

    Sunday, March 10, 2013

    Frugal Party Favors -- Strawberry Grow Kits!


    I have to admit, I'm feeling pretty genius about this one! My daughter had her first big friend party for her 7th birthday yesterday, and I really struggled with the idea of party favors. The party was already not budget friendly, and I just did not have the cash to do much of anything -- especially for 15 kids. That, and I especially am not a fan of party favor bags filled with candy and cheap plastic toys. Yuck.

    So the story on these is that Target usually has these "grow kits" (these are strawberries) in their dollar spot from about Valentine's Day through midsummer. There are usually several varieties, which is really fun. For my daughter, I chose strawberries. My daughter's friends and the parents were very excited to go home and plant their new strawberries!

    These actually come in a pretty wide variety. I've also shamrocks, forget me nots and various herbs. The variety makes these really great favors for just about any kind of party. They would even be great for a wedding, and at a $1 a pop, you pretty much can't beat the price. Have fun with this one!

    Saturday, February 9, 2013

    Butternut Squash Stuffed Shells


    I'm taking a hiatus from absence to post a new recipe! Life has just been nuts here, and on top of the normal chaos of having 3 kids six and under, my oven has been broken since early-November! I know!!!!!!!!!!! Anyway, that explains my lack of new recipes!

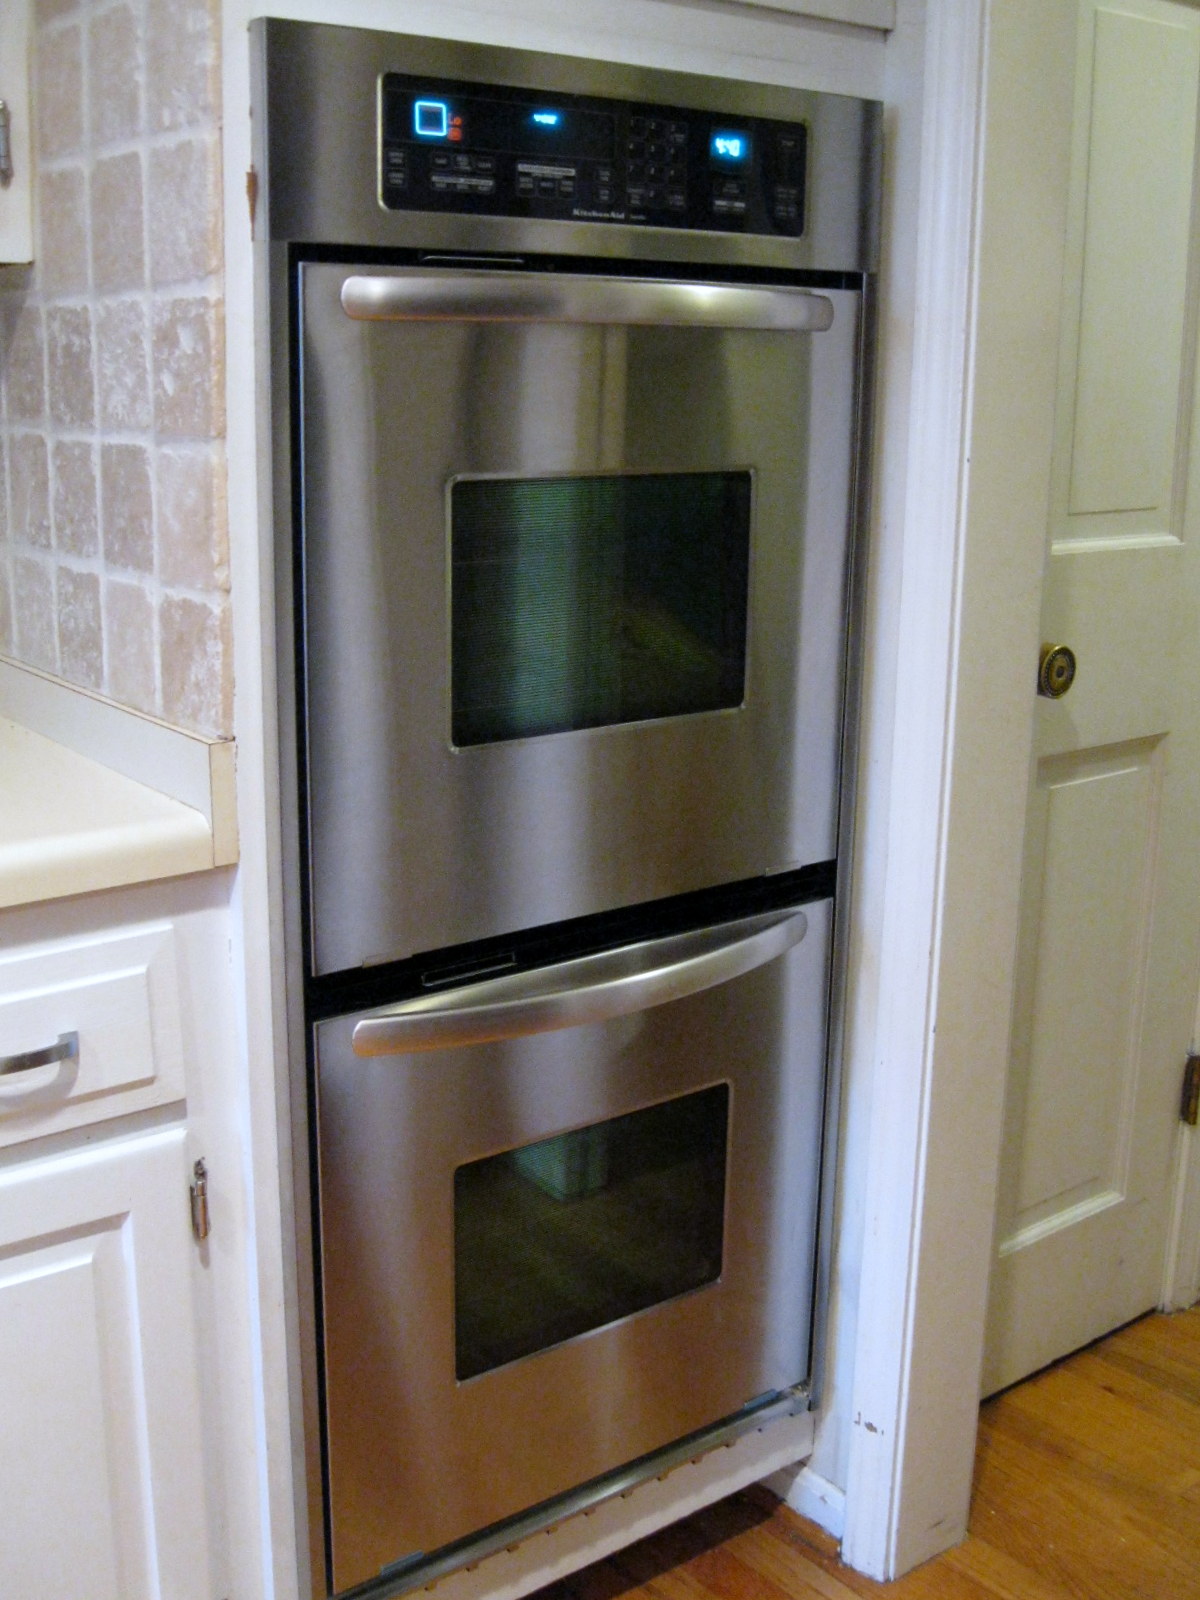
    Regardless, my new oven was installed yesterday!


    Umm, pretty fabulous right? I'm actually pretty stoked our old one broke. The price of a new double oven is heart attack worthy. I ended up with $1,500 from our home owner's warranty towards the new one, and I'm SO thankful! I would have just diiiiiiiiiiiiiiied if we had to pay 100% out of pocket for a new one here in a few months!

    So anyway, I had to make a new recipe in my new oven today! I've been in a major rut, but I forced myself to branch out. I had butternut squash ravioli on a business trip over the summer, and it was AMAZING! I decided to give these shells a whirl, and they were pretty darn good. Here is my adapted recipe,

    Ingredients:

    20 jumbo shells

    for filling,

    2 1/2 cups cubed butternut squash (I used the pre-cut steam in bag kind from the produce section)
    1 teaspoon olive oil
    1/4 teaspoon salt
    1/4 teaspoon pepper
    1/4 teaspoon nutmeg
    2 tablespoons unsalted butter
    1 garlic clove, minced
    2 tablespoons cream cheese
    2 tablespoons grated Parmesan cheese

    for bechamel,

    2 tablespoons butter
    2 tablespoons flour
    2 cups milk (I used 2%)
    1 cup of Parmesan (I was winging it here. The original recipe didn't mention how much or what kind!)
    1/4 pinch of nutmeg
    salt & pepper to taste

    for topping,

    1/4 cup grated parmesan cheese
    1/3 cup mozzarella cheese


    1. To begin with, steam butternut squash. (I did mine in the microwave. It took forever, and was never as soft as I would have liked!)

    2. While your butternut squash is steaming, prepare your shells as directed on the box.

    3. Once the squash is very soft and while it is still hot, whip with a hand mixer. Then, mix in the butter, cheeses and spices.

    3. Prepare your bechamel by starting with melted butter. You can let it brown a little, then stir in 2 tbs of flour. Once this has warmed through, stir in 2 cups of milk. As soon as the milk is hot, melt in your cheese and stir in the spices. Coat the bottom of your baking dish with a thin layer of sauce.

    4. Once your noodles and squash have cooled a little, fill each shell with the butternut squash mixture and place in your baking dish. Then, you can top with the remaining bechamel and cheese.

    5. Bake at 400 degrees until the cheese is brown and bubbly

    YUMMY!

    Followers